Few months back, there were quite a number of cases where someone could get your QRZ account by phishing and that caused me to change my password. I haven't work on my digital mode for quite sometime and for demo that I need to do today, I wanted to show them the PSK31 and RTTY.. but one thing I observed, a callsign that I've grabbed from the conversation doesn't automatically added the name. I went to the setting, made myself sure that I've put my correct password and I did a callsign lookup test but I kept getting the error. After few tries, I've almost given up until I realised that I've non-alphanumeric in my password and this causes the failure. So, changed my QRZ password to remove this non-alpha and this resolved my problem. So, if you're getting the same problem, changing your QRZ password to remove the non-alpha characters will work.
Was looking for the best AC wifi router to replace my Buffalo WHR-G300NH and found that TP-Link has just released an Archer C7 V2 which has wifi card supported by ath10k driver based on the information found here.
Here is the packaging, it says that it supports Unifi & Maxis Fiber but the support is not out of the box. You need to ask the seller a beta firmware which has VLAN support but I couldn't get mine working using even the beta firmware on my Maxis Fiber. Emailed TP-Link support but got a reply saying that they don't have Unifi/Maxis Fiber ready firmware and asked if I want to swap with one that already have, but nah, I bought the router not for running the stock firmware anyway.
Ver 2.0 hardware as per the sticker.
Anyway, I waited for a week or so and someone came up with the new hardware profile which creates the correct firmware image for OpenWrt. If you've this new V2.0 hardware and wanted to run OpenWrt on it but couldn't wait to get the patches into the trunk, check this patches:
To build your own OpenWrt firmware for this ver 2.0 hardware, followed these steps:
1. Have Debian 6.0 or any development system which could cross-compile the OpenWrt firmware. There are many guides available on the net, but for me, I've a VMWare Debian 6.0 VM ready on my Hackintosh machine.
3. To generate the image, I was using the following command, I need the ath10k and luci support in the image:
$ make image PROFILE=ARCHERC7V2 PACKAGES="ath10k luci"
4. The generated image ready to be flashed can be found in the bin/ar7xxx/ as openwrt-ar71xx-generic-archer-c7-v2-squashfs-factory.bin
UPDATE: The profile has been updated into the mainstream trunk distribution and the trunk now contains the image for Archer C7 V2.0. The image can be downloaded here: http://downloads.openwrt.org/snapshots/trunk/ar71xx/openwrt-ar71xx-generic-archer-c7-v2-squashfs-factory.bin 1-4: Do not forget that the trunk images do not contain LUCI, so, you may need to login into your router using ssh or telnet. Get it to the net and install LUCI using command line or, if you want to, you could follow the step 1-4 above, have you own image rebuild with the necessary LUCI packages.
UPDATE: The latest Barrier Breaker RC3 can be downloaded now. This has the fixes for 5GHz band which includes the calibrated setting etc. I've tested this with multi devices that support the 5GHz band and they work just fine. Please head up here to download the latest image: http://downloads.openwrt.org/barrier_breaker/14.07-rc3/ar71xx/generic/openwrt-ar71xx-generic-archer-c7-v2-squashfs-factory.bin
LATEST UPDATE: Barrier Breaker has been available for many months now, so, please download it from the official website. Please read the comments left by visitors, they may contain important information that is helpful to make full use of the features available for this router.
5. Go and flash the firmware, do remember, the default IP address for OpenWrt router is 192.168.1.1.
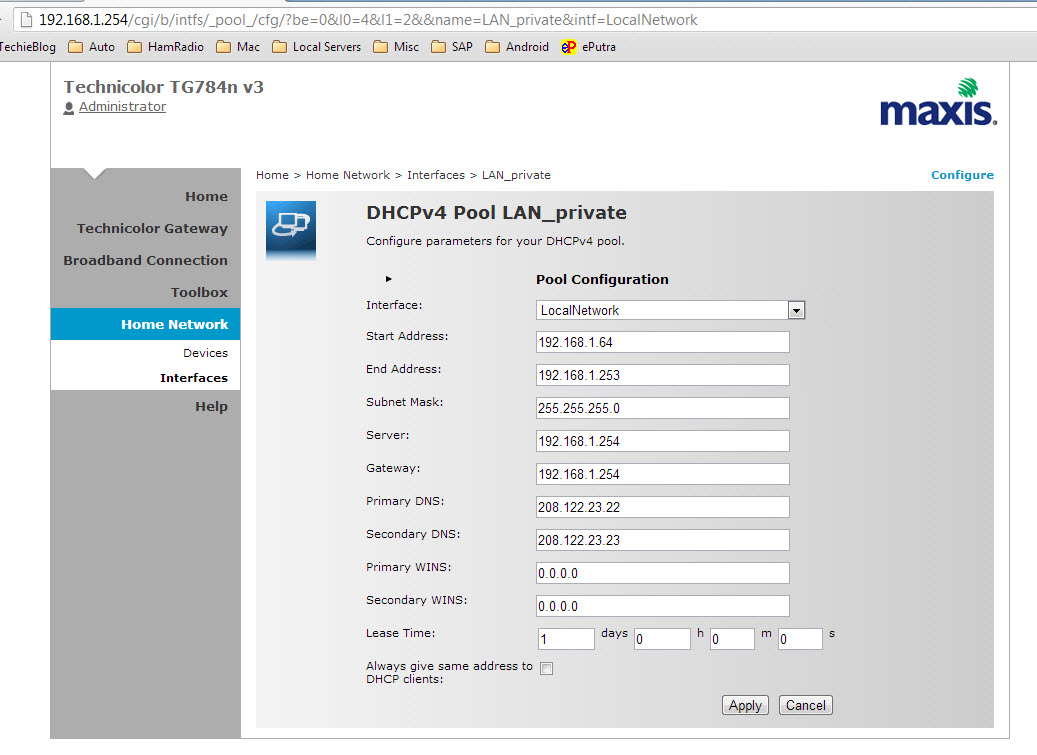
To get Maxis Fiber to run, just go to network->vlan and have the following, surely don't forget to set the PPPOE userid and password:
What is the easiest way to get echolink node up and running on raspberry pi? Surely, get a premade image which has everything inside. I've created one image which can fit into 2GB SD card for this, just follow the following steps to get it up and running:
For hardware, you need to have the following:
Raspberry Pi for sure, with a minimum 4GB SD card
A USB echolink interface, can be commercially sourced or DIY. There are many DIY schematics out there that you could follow.
Here is the configuration on how to get the things working together, courtesy of svxlink.de website:
For software:
Download the following prepared image from google drive, it is based on raspbian-2015-02-16 image and has pre-installed svxlink-14.08. raspi-wheezy-svxlink.img.zip
Unzip the file and copy it to your SD card using the following instructions that can be found here.
Boot up the RasPi, if you do not have an HDMI monitor, you may want to access the RasPi from your terminal emulator (putty or the like), connect the RasPi to your router via CAT5 cable.
To find the IP address of your RasPi, just go to your router status and look for the hostname raspberrypi.
Use SSH connection, logon to the RasPi using the default username/password which should be: pi/raspberry
If you've bigger SD card then the 4GB image, you may want to use fullest capacity of the SD card, run the raspi-config command as sudo:
$ sudo raspi-config
Choose the first option to expand rootfs. Exit when done.
Edit the following config files for svxlink (command):
$ sudo nano /etc/svxlink/svxlink.d/ModuleEchoLink.conf (edit the callsign - use sysop -L callsign, password, sysop, location and description)
$ sudo nano /etc/svxlink/svxlink.conf (edit the callsign), if you're using echolink interface that uses VOX, just leave the others as is. Edit the APRS info too as required.
To tune the mic/speaker, use alsamixer:
$ sudo alsamixer (use the up/arrow to tune the volume, right/left to move between speaker and mic sliders).
If the slider has MM underneath them, it means that they're muted, press 'M' to unmute.
You should be done with the configuration, you may run the svxlink now to test it out.
$ sudo svxlink
Your node should appear in the echolink now. Try to use your PC or android client to connect to your node and see if it is working. You may need to configure your router to allow echolink to work, use port forwarding and forward the UDP port 5198-5199 and TCP port 5200 to your RasPi IP address.
If everything is working as expected and you want to run svxlink as a service, follow the steps here. The link to auto start the server has been vanished, so the best to do an autostart of the svxlink is by running the following command (if the /etc/init.d/svxlink is not present, copy the script over from the source under distribution/debian/etc/init.d/):
I'm done with my migration from Unifi to Maxis FTTH, though a bit of hiccup last weekend when TM deactivated my Unifi, the technician came yesterday with a new password which work.
There are many people complaining about how restrictive the Maxis router is, for those who have Huwaei HG850a BTU, you might be lucky. Someone has come up with a way of replacing the Maxis Thomson router with your own and moving the VOIP to the HG850a BTU.
1. To get access to Web interface so you could save the current configuration
2. To get access to telnet interface
3. Have a VLAN capable router, or most routers that can be flashed with OpenWRT or DDWRT. 4. Follow the configuration as per the one shown in the guide above.
If you're not interested in getting the VOIP working, you could actually ignore all the things in the above guide. What you need is to have VLAN setup in your router to use VLANID 621 and connect it to Port 2 on the HG850a BTU.
Have fun .. and say bye bye to the Maxis FTTH stock router. You can throw it away or store it somewhere safe, just in case.
During my trip back to Manchester last month, I've got myself a cheapo WX station. Sold by Maplin under it's Maplin Gadget brand with N96GY model, I made to understand by reading some of the documentation found in Maplin website, it is an OEM from Fine Offset Electronics which produces few variants of the WX station with USB connectivity. I was a bit hesitate to buy it at first since 1) it is cheap 2) getting it to connect to a router will be a hassle. After few more research, I found out that there is a package called FOWSR available for OpenWRT and the price paid might be worth it to get it up for a year or so before getting something better/more expensive.
Assembling the unit is a no brainer, don't think you need to look at the manual to get the outdoor unit assembled. I've got it mounted on my porch since my house only has a small garden. For those who're thinking of putting a weather station, you should follow the one suggested here:
Anyway, the next hurdle is to get FOWSR to talk to aprs-is server. The FOWSR software was developed quite sometimes back and it hasn't been enhanced further. It supports the following format:
Left from the supported format is the APRS/CWOP format. I was looking to enhance the FOWSR but I couldn't get some of the libraries to compile properly using OpenWRT SDK (couldn't find this lib: libusb-compat), I might need to get the full source and recompile everything. But lucky me, I found someone using the same weather station + fowsr and his WX packet can be found on the aprs.fi. Emailed the packet owner, Nick (VA3NNW) to get more information on how he got his stuff running and he sent me a perl wrapper code that will reformat wunderground format into APRS/CWOP format. Thanks Nick for your help .. my WX station is up and running now and can be found here:
BTW, I've a workaround to have the WX packet to back-feed into the RF, by using aprx. What need to be done is to put a filter in section and in the section. If I ever get the OpenWRT SDK working, I might use it to output into a text file and let aprx to beacon out from the text file, this will then get picked up by other igate and into the aprs.fi. But for now, my current setup is working just fine.
I've modified Nick's perl script a bit to output a file into a /tmp directory instead of sending it direct to the APRS-IS server. I'm using aprx to beacon out from this text file into RF and back into aprs-is from someone's igate. This is now work well.
Nick has changed a bit on how his scripting works now, he is using CGI. For those who're interested in Nick's perl script, do head up to his page at:
My Garmin NUVI 350 has been intermittently giving me a problem which I believe caused by the power connector. For some reason, slight movement will cause the NUVI to loose it power. So, I'm retiring my NUVI, will still use it for day-to-day navigational (sourcing the power from the right side connector) and I've embedded a GPS module inside my TMD710A's head unit instead.
It is a straight forward project, that is after I did some "research" on the net and found few who've done it before. I based my mod from the this website: http://sq3fyk.com/?page_id=23
Here are the photos taken from the mod.
1. Scarifying my PS/2 serial GPS. Removed the casing, we're interested on the inner module which has both, the antenna & GPS receiver module.
2. Fully stripped, no only bare module & pig tails connector, left a good length of wires for the mod.
3. Trying to find the best place based on the website that I referred to, but decided that I don't want to loose the speaker.
4. Stripping the head unit, the volume & menu buttons etc, put them all into a safe container.
5. Okay, found the best place to stick the GPS, hopefully it won't fry the chip below it.
6. All wired .. you can visit the website mentioned above on where the connection needs to be done.
7. Test it first before putting back the casing .. everything seems to work, no short-circuit.. :)


 I've come across many posting on the Internet (via google search), people asking on how to debug a DMEE for payment program. One of the ...
 I've just subscribed to Astrill vpn service with a thought that they've openwrt scripting works as per the old twitter post that say...
 Was looking for the best AC wifi router to replace my Buffalo WHR-G300NH and found that TP-Link has just released an Archer C7 V2 which has ...